The beauty of whiteboards is that they can easily be wiped clean once finished. However, in some circumstances, this can be the opposite of what you want to do.
Picture the scenario: you’re brainstorming ideas or sketching new designs and suddenly wish you’d chosen a more permanent ink.
Or perhaps you’ve created the perfect activity for your class and now wish to replicate it for them to complete.
You could scan the board with a smartphone app, such as Brill, which handily converts your scribbles into text.
Or, you could use a scanner.
How to photocopy a whiteboard
As with scanning paper documents, the process of photocopying a whiteboard is simple. Simply place the board, design-side down, onto the glass and tap the scan button. As drywipe ink is prone to smudging, carefully align the board before gently placing it on the glass screen.
Semi-permanent pens, such as wet wipe pens, can be erased with water. Using these would increase the chances of scanning the board without smudging.
Remember to wipe the scanner glass after you’re finished. This will ensure that any ink remnants won’t end up on someone else’s scan! Be sure to keep a handy cloth nearby.
If your scanner is equipped with a feeder device, we do NOT recommend using it for your whiteboard. It may be tempting to save time by using the feeder, but there is a high probability that it’ll jam. This can cause a host of issues.
Copyright
All whiteboards are copyright protected and should only ever be photocopied for the purposes of replicating your own work.
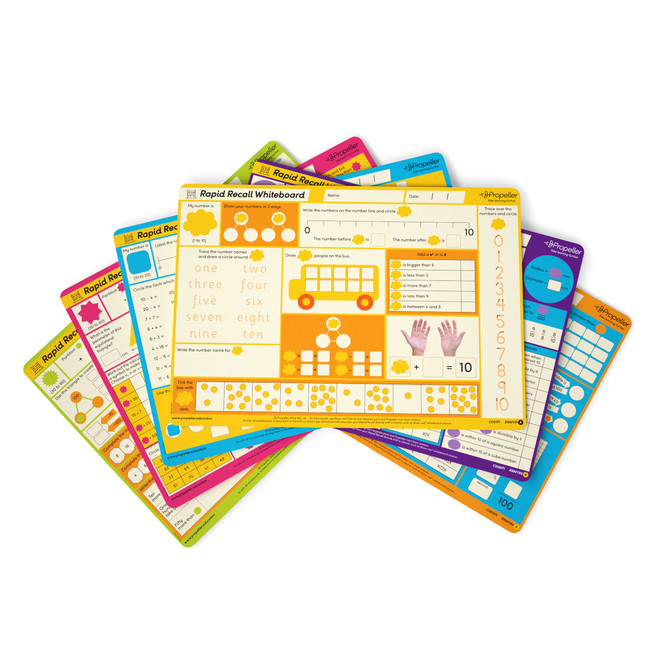
Whether you’re using a Rapid Recall Board or a Show-me board, use the real thing rather than laminated copies. This ensures quality and avoids any potential copyright issues.
Photocopying larger whiteboards
If your whiteboard is bigger than A4 or permanently attached to a wall, there are plenty of smartphone and tablet applications that enable you to convert any picture into a PDF document.

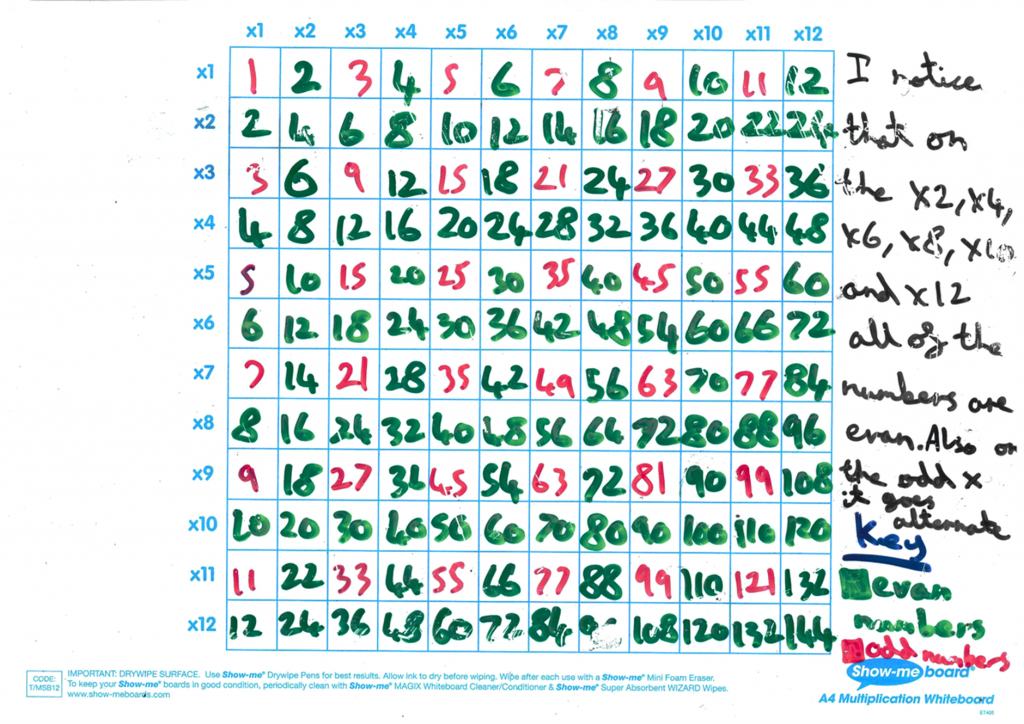
The above image shows a successfully photocopied whiteboard.


